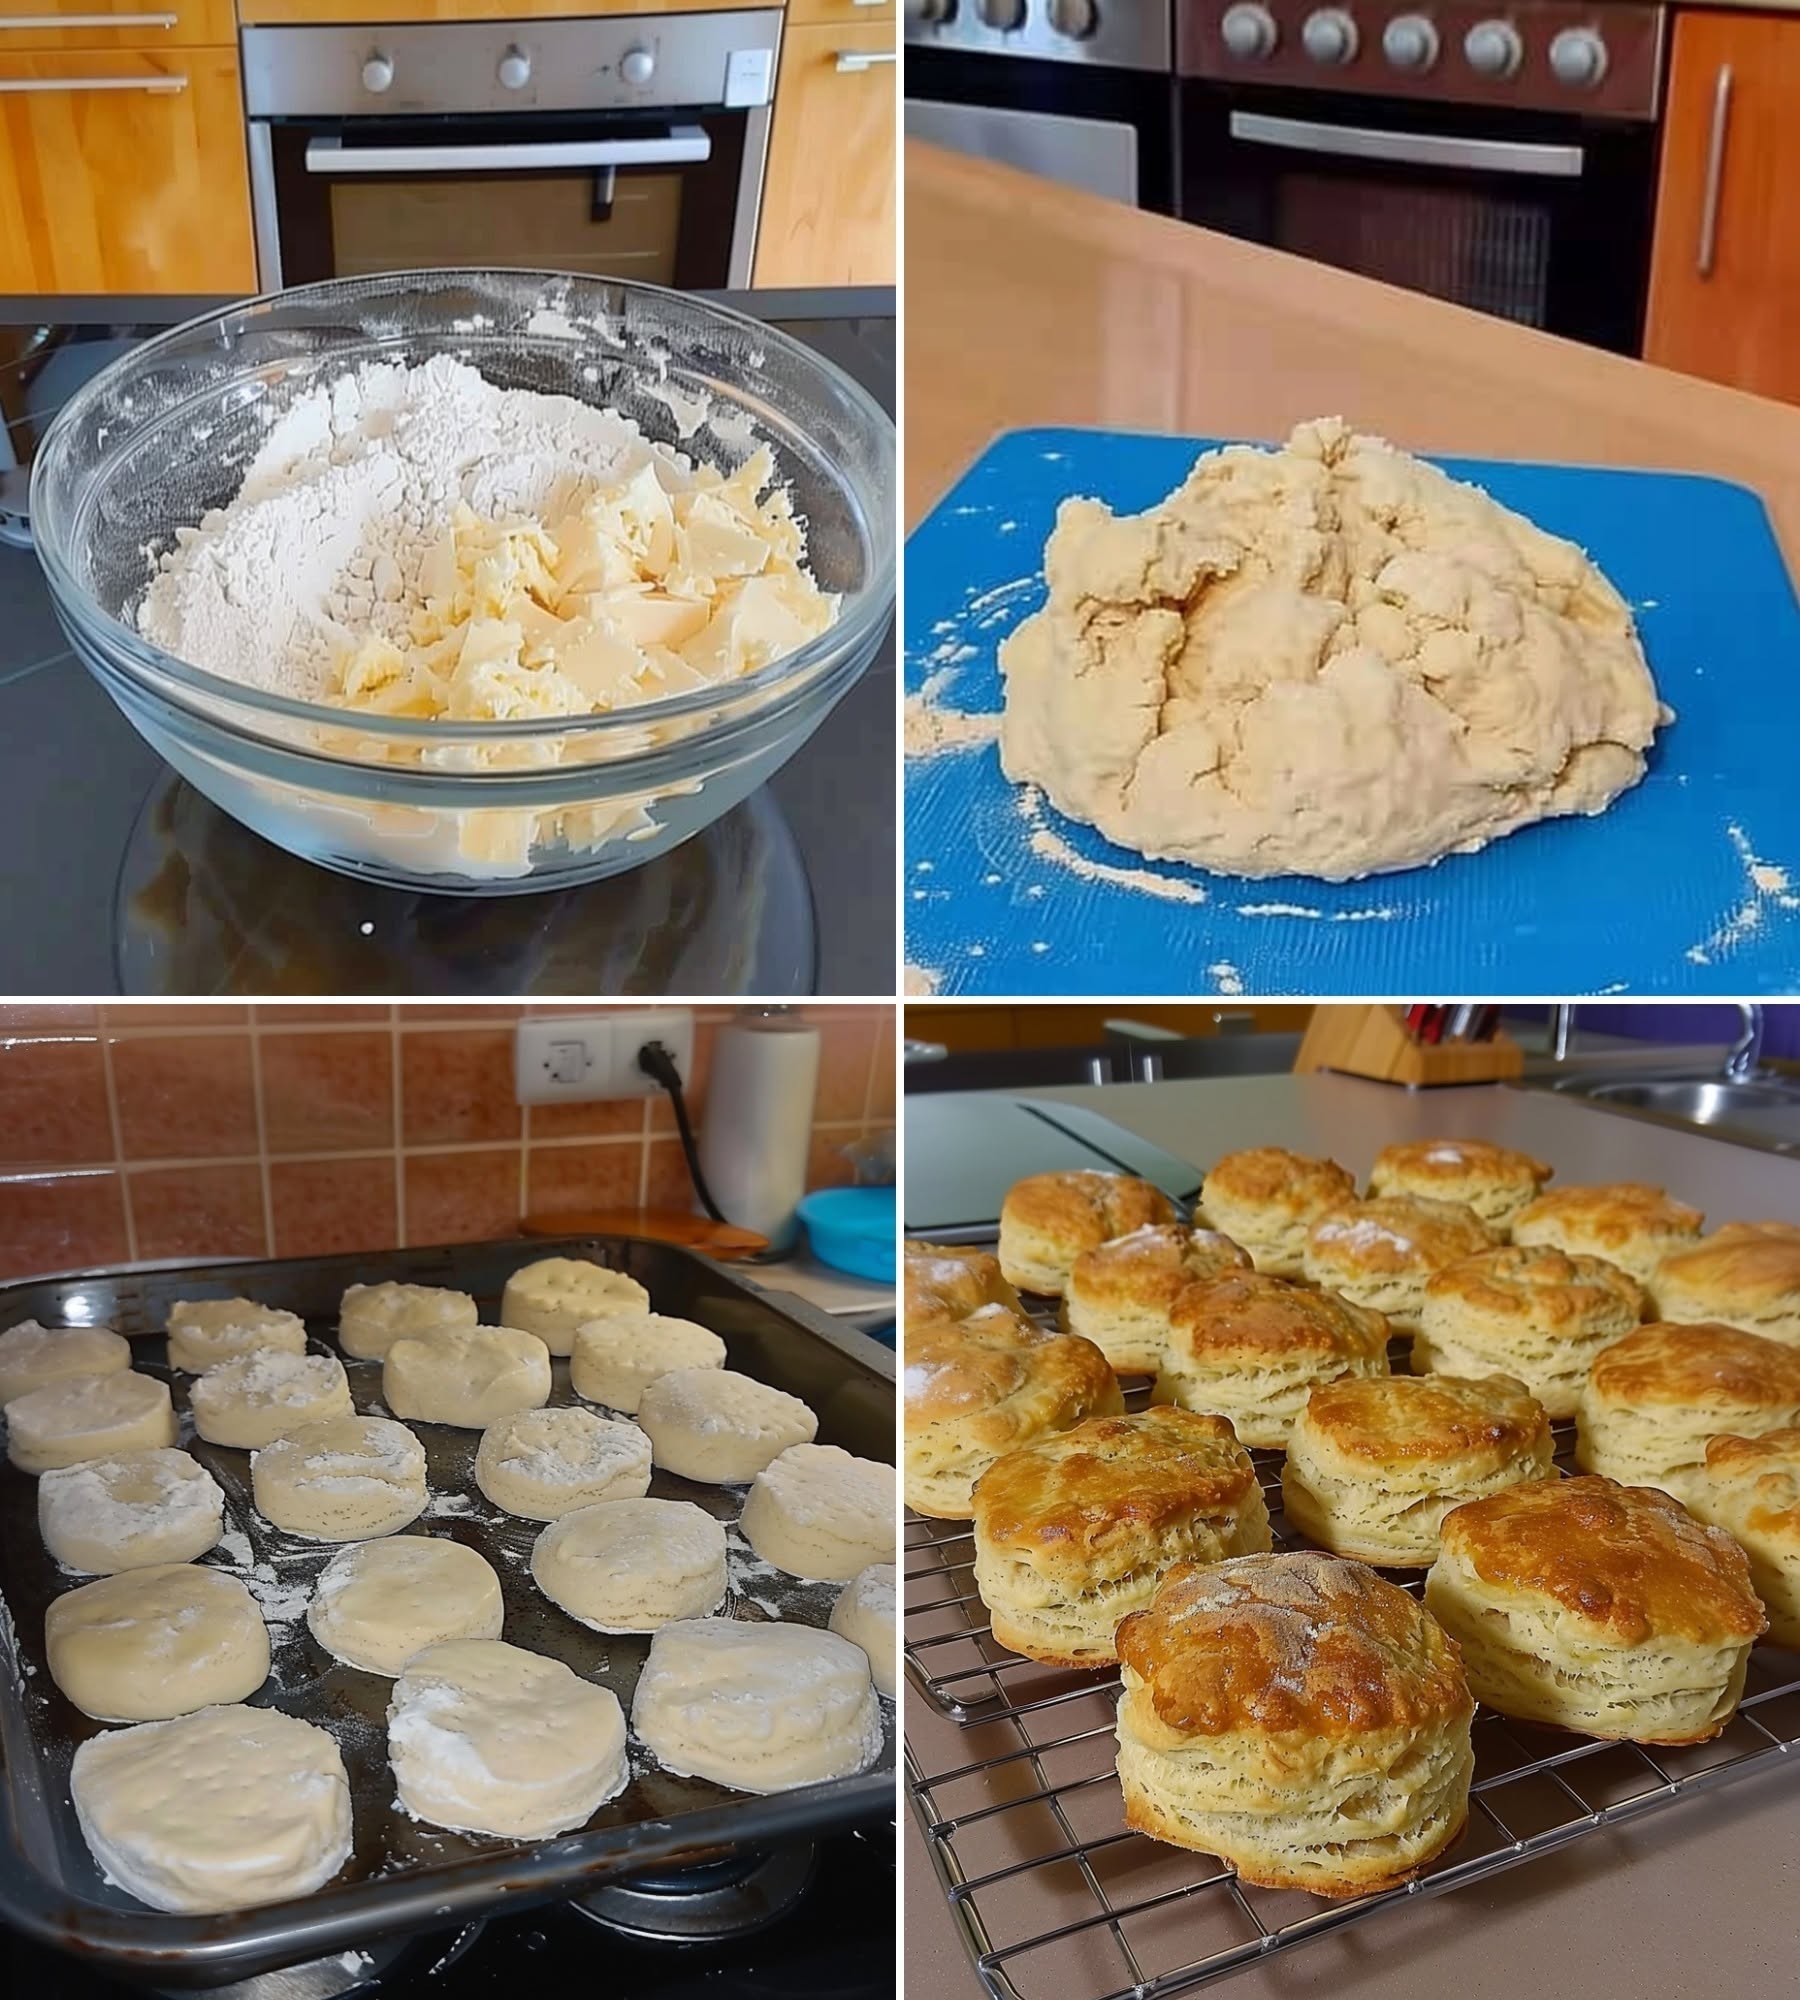
A great burger deserves an equally great bun, and these Soft Gluten-Free Hamburger Buns deliver exactly that. Light, fluffy, and beautifully golden, these homemade buns have a tender crumb and a soft texture that holds up perfectly to juicy burger patties, grilled chicken, pulled meats, or your favorite sandwich fillings. Unlike many store-bought gluten-free buns that can be dry or crumbly, this recipe creates bakery-style buns that are soft enough for everyday meals while remaining sturdy enough for generous toppings.
Why You’ll Love This Recipe
Homemade gluten-free hamburger buns offer a freshness and texture that are difficult to find in packaged alternatives. These buns are designed to be soft, flavorful, and versatile.
Here’s why this recipe stands out:
- Soft and fluffy interior
- Beautiful golden-brown crust
- Holds together without crumbling
- Perfect for burgers and sandwiches
- Freezer-friendly for meal prep
- Easy-to-follow method
- Delicious fresh from the oven
Whether you’re hosting a backyard barbecue or simply preparing homemade burgers for dinner, these buns will elevate every bite.
Ingredients You’ll Need
| Ingredient | Quantity |
|---|---|
| Gluten-free bread flour blend | 3 ½ cups |
| Instant yeast | 2 ¼ teaspoons |
| Granulated sugar | 2 tablespoons |
| Salt | 1 teaspoon |
| Warm milk | 1 cup |
| Warm water | ¼ cup |
| Eggs | 2 large |
| Unsalted butter, softened | 4 tablespoons |
| Apple cider vinegar | 1 teaspoon |
| Sesame seeds (optional) | 2 tablespoons |
| Egg for egg wash | 1 |
Ingredient Notes
Gluten-Free Bread Flour
A high-quality gluten-free bread flour blend provides structure and softness. If your blend does not contain xanthan gum, add 1 teaspoon to improve elasticity.
Instant Yeast
Instant yeast helps create a light, airy crumb and reliable rise. Ensure the yeast is fresh for the best results.
Eggs
Eggs contribute richness, color, and stability while helping the buns maintain their shape.
Apple Cider Vinegar
A small amount enhances the dough’s texture and works with the yeast to improve softness.
Preparing the Dough
Begin by warming the milk and water until they are slightly warm to the touch but not hot.
In a large mixing bowl, combine the warm milk, warm water, sugar, and yeast. Allow the mixture to sit for approximately five minutes until slightly foamy.
Add the eggs, softened butter, and apple cider vinegar. Whisk until well combined.
In a separate bowl, mix together the gluten-free flour and salt.
Gradually add the dry ingredients to the wet ingredients, mixing continuously until a soft dough forms.
Unlike traditional bread dough, gluten-free dough will be softer and more like a thick batter. This is completely normal.
Mixing for the Perfect Texture
Continue mixing the dough for approximately five minutes using a stand mixer fitted with a paddle attachment or a sturdy spoon.
The dough should become smooth, slightly sticky, and well combined.
Proper mixing helps hydrate the flour and creates a more uniform texture throughout the finished buns.
First Rise
Cover the bowl with a clean kitchen towel or plastic wrap.
Place it in a warm, draft-free location and allow the dough to rise for 60 to 90 minutes, or until noticeably puffed and increased in volume.
The dough does not need to double completely, but it should appear significantly expanded.
Shaping the Hamburger Buns
Line a baking sheet with parchment paper.
Lightly oil your hands to prevent sticking.
Divide the dough into 8 equal portions.
Gently shape each portion into a smooth round ball and place them on the prepared baking sheet, leaving enough space between each bun for expansion.
Use lightly dampened fingers to smooth any rough edges.
The smoother the surface, the more professional the finished buns will look.
Second Rise
Cover the shaped buns loosely with a clean towel.
Allow them to rise for an additional 30 to 45 minutes.
During this time, they will become slightly larger and puffier.
This second rise helps create a lighter texture and better oven spring.
Preparing for Baking
Preheat your oven to 375°F (190°C).
Whisk one egg with a tablespoon of water to create an egg wash.
Brush the tops of the buns gently with the egg wash.
Sprinkle sesame seeds over the surface if desired.
The egg wash creates the glossy, golden finish commonly seen on bakery-style hamburger buns.
Baking the Buns
Place the tray in the preheated oven and bake for 20 to 25 minutes.
The buns should develop a rich golden-brown color and feel light when lifted.
A properly baked bun should sound slightly hollow when tapped on the bottom.
Avoid overbaking, as this can cause the buns to dry out.
Cooling for the Best Texture
Transfer the baked buns to a wire cooling rack immediately after baking.
Allow them to cool completely before slicing.
Although it may be tempting to cut into them while warm, cooling helps the crumb set properly and improves the final texture.
How to Know Your Buns Are Perfect
Look for these signs:
| Indicator | Result |
| Golden brown top | Proper baking |
| Soft sides | Tender texture |
| Light weight | Good rise |
| Smooth rounded shape | Correct proofing |
| Fine crumb structure | Well-mixed dough |
Expert Tips for Bakery-Style Results
Measure Ingredients Accurately
Gluten-free baking relies heavily on precise measurements. Use measuring cups carefully or weigh ingredients when possible.
Do Not Add Excess Flour
The dough should remain soft and slightly sticky. Adding too much flour can result in dense buns.
Use Fresh Yeast
Expired yeast may not provide enough lift, leading to heavy buns.
Allow Proper Rising Time
Rushing the rise can significantly affect the final texture.
Creative Variations
Sesame Seed Burger Buns
Classic hamburger buns topped with sesame seeds for a traditional finish.
Everything Seasoning Buns
Replace sesame seeds with everything bagel seasoning for extra flavor.
Cheddar Buns
Fold shredded cheddar cheese into the dough before shaping.
Herb Sandwich Buns
Add dried parsley, oregano, and garlic powder for a savory twist.
Serving Suggestions
These soft gluten-free buns pair wonderfully with:
- Beef burgers
- Chicken burgers
- Pulled pork
- Grilled vegetables
- Turkey burgers
- Crispy chicken sandwiches
- Breakfast sandwiches
- Deli-style sandwiches
Their soft texture and sturdy structure make them suitable for both simple and loaded sandwiches.
Storage Instructions
Store cooled buns in an airtight container at room temperature for up to 2 days.
For longer storage, refrigerate for up to 5 days.
Always allow refrigerated buns to return to room temperature before serving for the best texture.
Freezing Instructions
Place completely cooled buns in freezer-safe bags.
Freeze for up to 3 months.
Thaw at room temperature and warm slightly before serving.
Freezing helps preserve freshness while making meal preparation more convenient.
Common Mistakes to Avoid
Using Hot Liquid
Excessively hot liquid can kill the yeast and prevent proper rising.
Skipping the Second Rise
The second rise contributes significantly to softness and volume.
Overbaking
Even a few extra minutes can dry out gluten-free bread products.
Adding Too Much Flour
This can make the buns dense and less enjoyable.
Frequently Asked Questions
Can I Make These Buns Dairy-Free?
Yes. Replace the milk with a dairy-free alternative and use plant-based butter.
Can I Make Smaller Slider Buns?
Absolutely. Divide the dough into 12 portions instead of 8 and reduce the baking time slightly.
Why Are My Buns Dense?
Dense buns are usually caused by inactive yeast, insufficient rising time, or excessive flour.
Can I Prepare the Dough Ahead of Time?
Yes. The dough can be refrigerated overnight after the first rise and shaped the following day.
Final Thoughts
These Soft Gluten-Free Hamburger Buns offer everything you want in a homemade bun: a pillowy interior, a beautifully golden crust, and enough str