Introduction
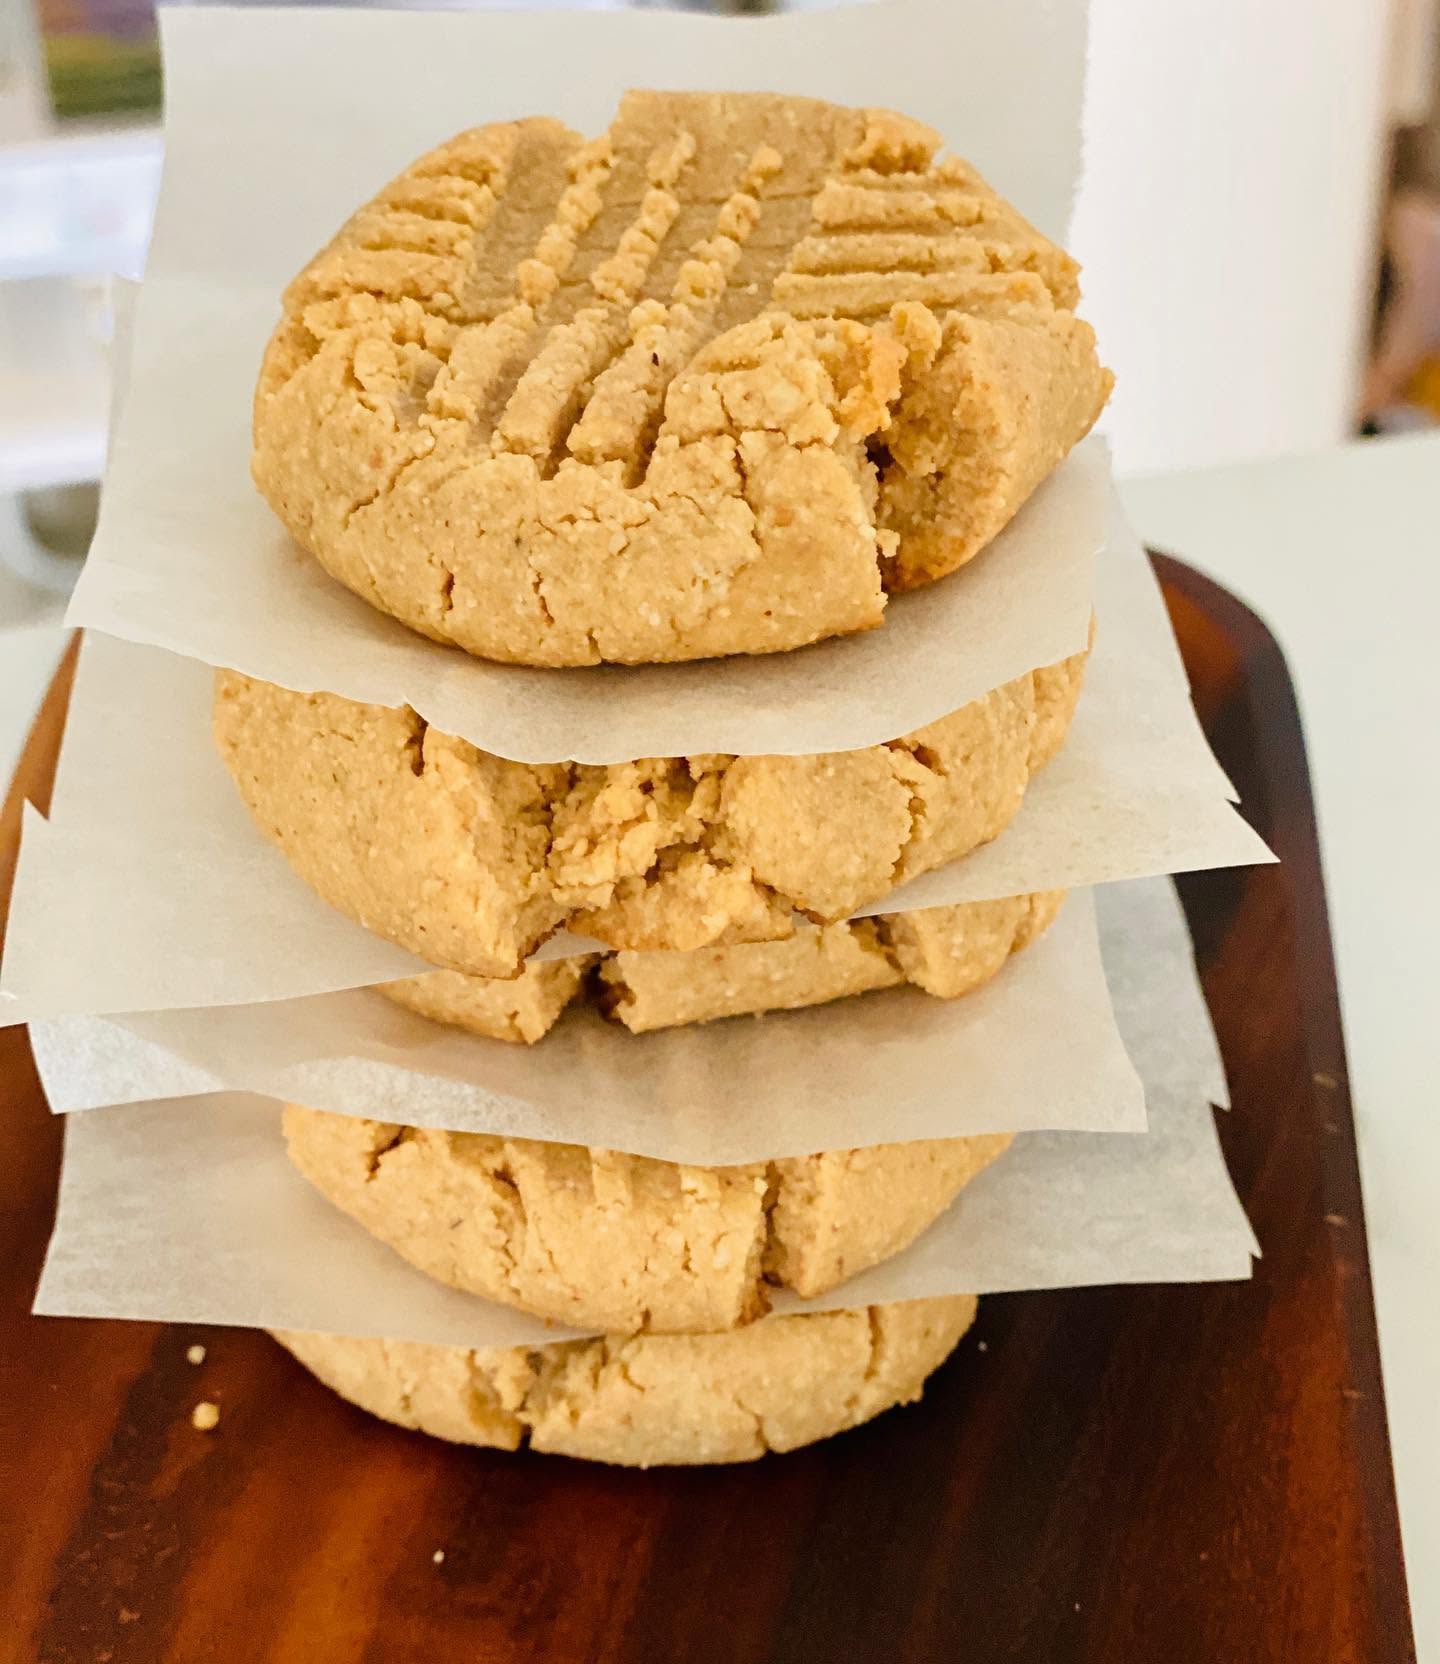
Few treats are as timeless and comforting as a homemade peanut butter cookie. With their rich nutty flavor, soft centers, and beautifully crinkled tops, these Gluten-Free Peanut Butter Cookies deliver everything you love about the classic version without any gluten. Made with simple pantry ingredients and packed with irresistible peanut butter goodness, they’re perfect for afternoon snacks, holiday cookie trays, or satisfying a sweet craving any day of the week. One bite into these tender, melt-in-your-mouth cookies and you’ll understand why they’re a favorite for both kids and adults alike.
Why You’ll Love This Recipe
These cookies are proof that gluten-free baking can be just as delicious as traditional baking. They have a rich peanut butter flavor, a soft and tender texture, and just the right amount of sweetness.
This recipe is:
- Naturally gluten-free
- Easy to make with simple ingredients
- Soft and chewy with lightly crisp edges
- Perfect for beginners
- Great for make-ahead baking
- Ideal for holidays, parties, and everyday treats
Recipe Overview
| Details | Time |
|---|---|
| Preparation Time | 15 Minutes |
| Chilling Time | 20 Minutes |
| Baking Time | 10-12 Minutes |
| Total Time | 45 Minutes |
| Yield | 18 Cookies |
Ingredients
For the Cookie Dough
- 1 cup creamy peanut butter
- ½ cup unsalted butter, softened
- ¾ cup brown sugar
- ¼ cup granulated sugar
- 1 large egg
- 1 teaspoon vanilla extract
- 1½ cups gluten-free all-purpose flour
- ½ teaspoon baking soda
- ¼ teaspoon baking powder
- ¼ teaspoon salt
Optional Toppings
- Extra granulated sugar for rolling
- Flaky sea salt
- Mini chocolate chips
- Chopped roasted peanuts
Ingredient Notes
Peanut Butter
Creamy peanut butter produces the softest texture, while chunky peanut butter adds extra crunch and texture throughout the cookies.
Gluten-Free Flour
Choose a high-quality gluten-free all-purpose flour blend that contains xanthan gum for the best structure and consistency.
Brown Sugar
Brown sugar helps create a soft, chewy cookie while adding a subtle caramel flavor that complements the peanut butter beautifully.
Equipment Needed
- Mixing bowls
- Electric mixer
- Measuring cups and spoons
- Baking sheets
- Parchment paper
- Cookie scoop or spoon
- Cooling rack
Step 1: Prepare the Oven
Preheat your oven to 350°F (175°C).
Line two baking sheets with parchment paper.
This prevents sticking and promotes even baking.
Step 2: Cream the Butter and Sugars
In a large mixing bowl, combine the softened butter, brown sugar, and granulated sugar.
Beat until light and creamy.
This step incorporates air into the dough, helping create a softer cookie.
Step 3: Add the Wet Ingredients
Add the peanut butter and continue mixing until smooth.
Mix in the egg and vanilla extract until fully incorporated.
The mixture should appear creamy and uniform.
Step 4: Combine the Dry Ingredients
In a separate bowl, whisk together:
- Gluten-free flour
- Baking soda
- Baking powder
- Salt
Gradually add the dry ingredients to the wet mixture.
Mix until a soft dough forms.
Avoid overmixing, as this can affect the final texture.
Step 5: Chill the Dough
Cover the bowl and refrigerate for 20 minutes.
Chilling helps the dough firm up and prevents the cookies from spreading too much during baking.
Step 6: Shape the Cookies
Scoop approximately 2 tablespoons of dough for each cookie.
Roll into balls and place on the prepared baking sheets, leaving space between each cookie.
If desired, roll the dough balls in granulated sugar before placing them on the baking sheet.
Using a fork, gently press a crisscross pattern onto the top of each cookie.
This classic peanut butter cookie design also helps the cookies bake evenly.
Step 7: Bake to Perfection
Bake for 10 to 12 minutes.
The edges should be lightly golden while the centers remain slightly soft.
Do not overbake.
The cookies will continue to set as they cool.
Step 8: Cool and Serve
Allow the cookies to cool on the baking sheet for 5 minutes.
Transfer them to a wire rack to cool completely.
The cookies will become perfectly tender as they cool.
Tips for Perfect Peanut Butter Cookies
Use Room Temperature Ingredients
Softened butter and room-temperature eggs mix more evenly, resulting in a smoother dough.
Don’t Overbake
For soft and chewy cookies, remove them from the oven when the centers still look slightly underdone.
Chill the Dough
A short chilling period improves both texture and appearance.
Measure Flour Carefully
Too much flour can make the cookies dry and crumbly.
Flavor Variations
Chocolate Chip Peanut Butter Cookies
Fold ½ cup mini chocolate chips into the dough before baking.
Double Peanut Butter Cookies
Add chopped roasted peanuts for extra crunch and nutty flavor.
Peanut Butter and Jelly Cookies
Create a small indentation in each cookie and fill with your favorite jam after baking.
Salted Peanut Butter Cookies
Sprinkle flaky sea salt on top immediately after baking for a sweet-and-salty finish.
Common Mistakes to Avoid
Using Natural Peanut Butter Without Mixing
Separated oils can affect the consistency of the dough.
Overmixing the Dough
Mix only until the ingredients are combined.
Overbaking
The cookies should remain slightly soft in the center when removed from the oven.
Skipping the Cooling Time
Freshly baked cookies are delicate and need time to set properly.
Storage Instructions
Store cooled cookies in an airtight container at room temperature for up to 5 days.
For longer storage, refrigerate for up to 10 days.
Freezing Instructions
The cookie dough can be frozen for up to 3 months.
Shape the dough into balls and freeze on a baking sheet before transferring to a freezer-safe container.
Bake directly from frozen, adding 1 to 2 extra minutes to the baking time.
Frequently Asked Questions
Can I Make These Cookies Dairy-Free?
Yes. Replace the butter with a dairy-free baking substitute.
Which Peanut Butter Works Best?
Traditional creamy peanut butter provides the most consistent results.
Can I Freeze the Baked Cookies?
Absolutely. Once cooled, store them in an airtight container and freeze for up to 3 months.
Why Do Peanut Butter Cookies Have Fork Marks?
The dough is naturally dense, and pressing it down helps the cookies spread evenly while baking.